

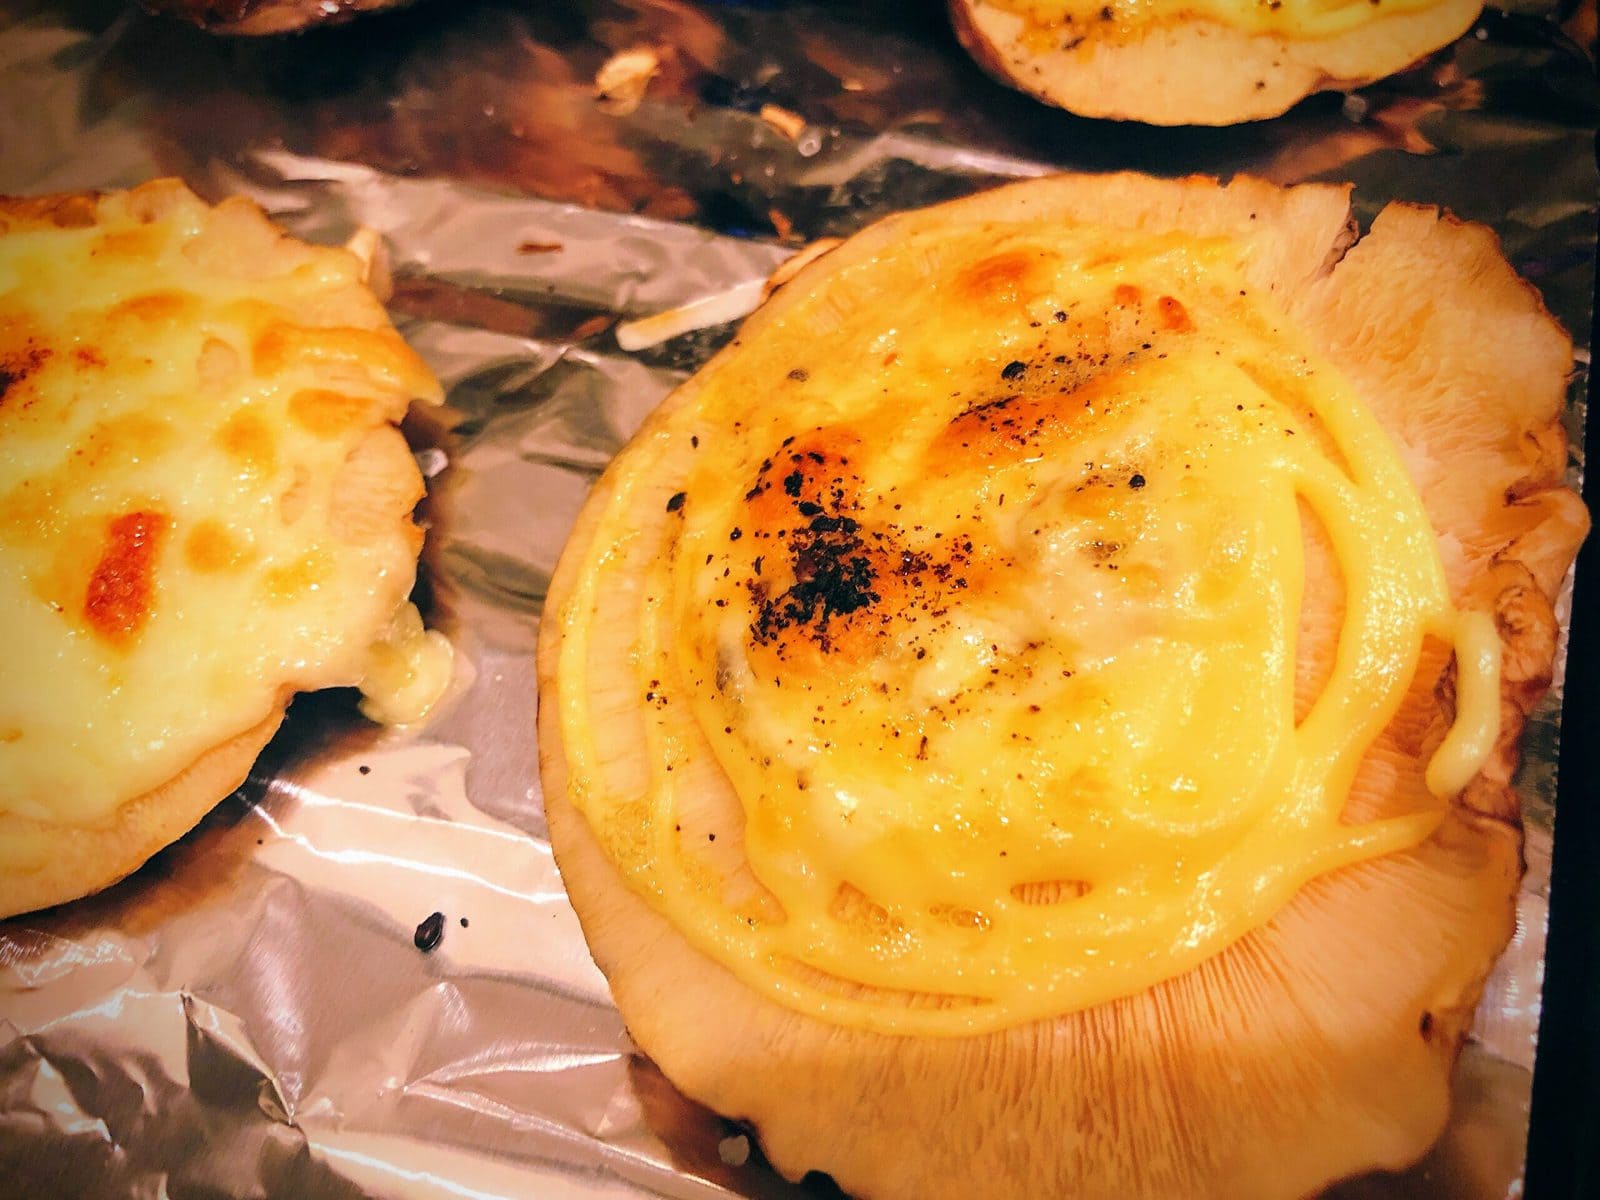

I tried out “Poko Suku,” a kit that lets you grow shiitake mushrooms at home.
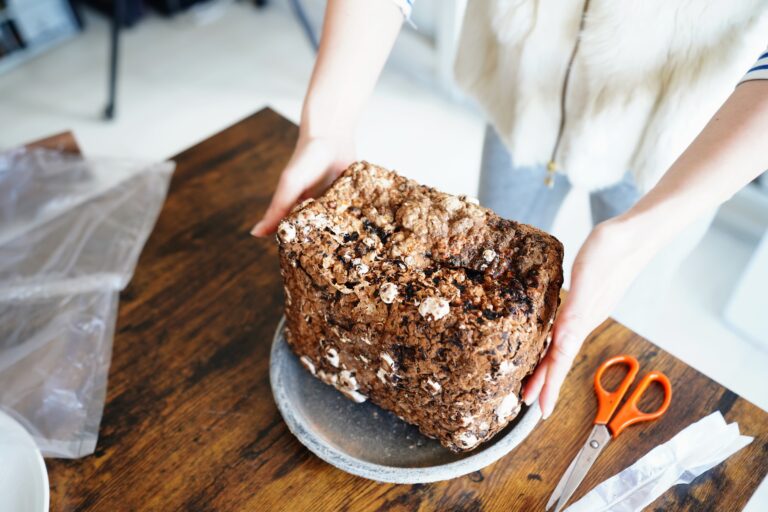
It looks like a big chocolate cake??
In just one week, it turns into this↓
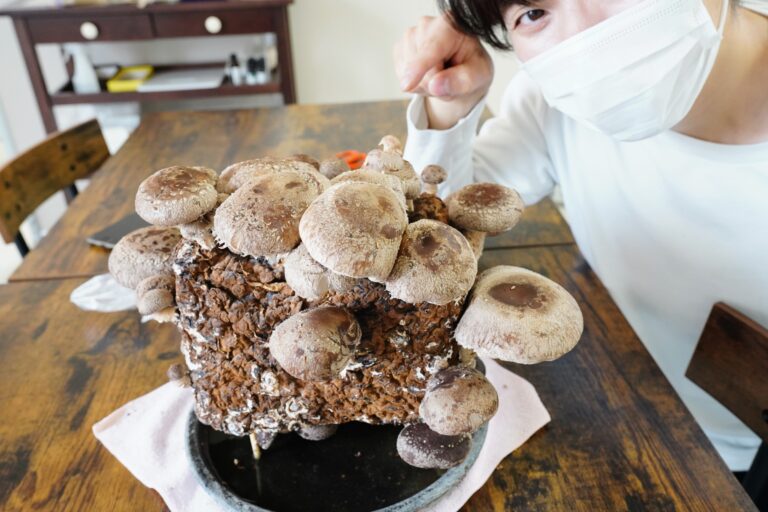
This is something called a shiitake mushroom substrate block “Poko Sugu”.
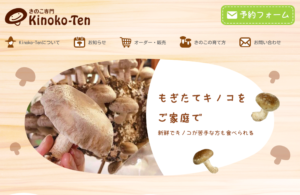
You can buy it from the Nishinomiya mushroom specialty online shop “Kinoko-ten.”
目次
Here’s What It Looks Like When It Arrives
When you order “Poko Suku,”
it arrives in a paper bag about this size↓
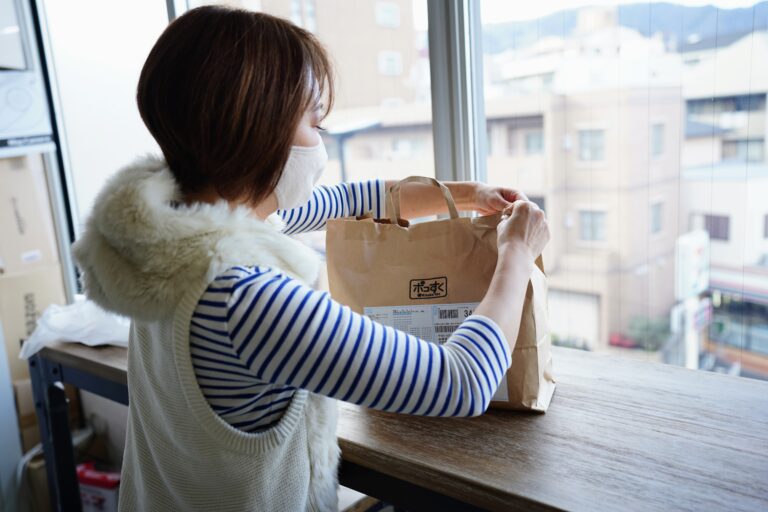
And when you open it, it looks like this↓

(A rare shot of Niko from Nishitsu with her eyes closed)
Instructions for growing “Poko Suku”↓
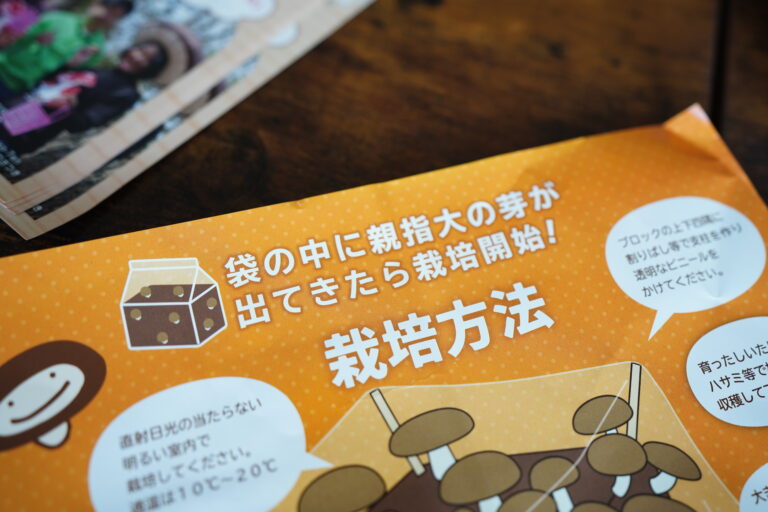
It says to start growing once thumb-sized buds appear inside the bag!
All right, let’s take a look.
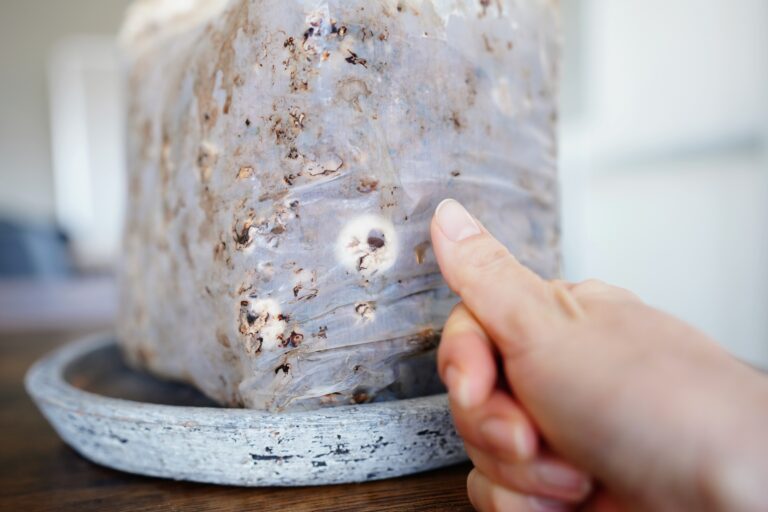
Yes! I’m guessing this thing that looks like Medama-Oyaji is the bud.
It’s about thumb-sized now. Let’s take it out of the bag and start growing.
How to Grow It
From here, here’s how to grow it.
First, take “Poko Suku” out of the clear bag.
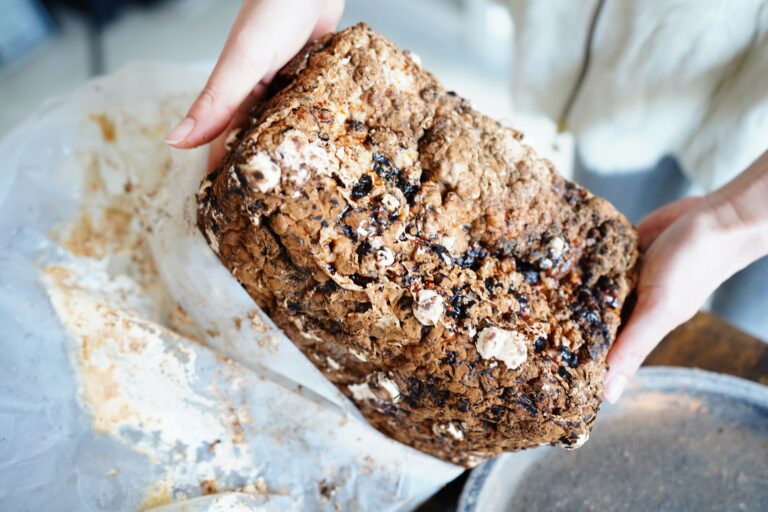
Here we gooo.
(It’s better to have scissors to get it out of the bag)
What You Need for Growing
Here’s what you need.
- 2 pairs of disposable chopsticks
- A plant pot saucer (a large plate also works)
- A spray bottle
- A plastic bag
Now let’s set up the growing kit.
Place “Poko Suku” on the plant pot saucer.
But here’s where you need to be careful! If you leave it like this, it’ll get soaked once you add water!
So what do you do? Stick in some chopsticks
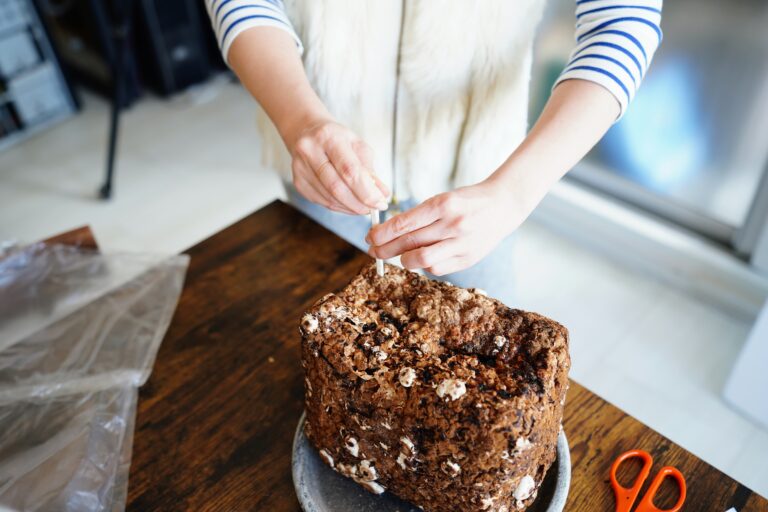
Like this, jab chopsticks into the four corners.
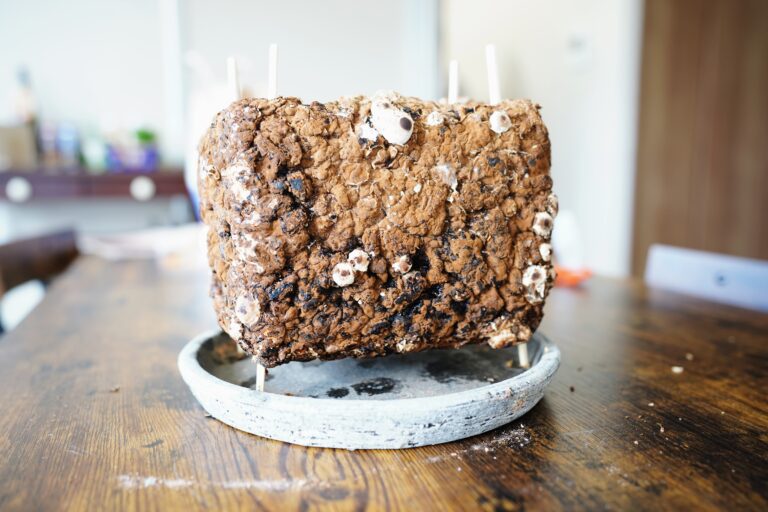
Raise it up like this so they act as legs.
(Recommended: make the legs as long as possible. Reason → shiitake grow from underneath → this prevents them from getting drenched in water)
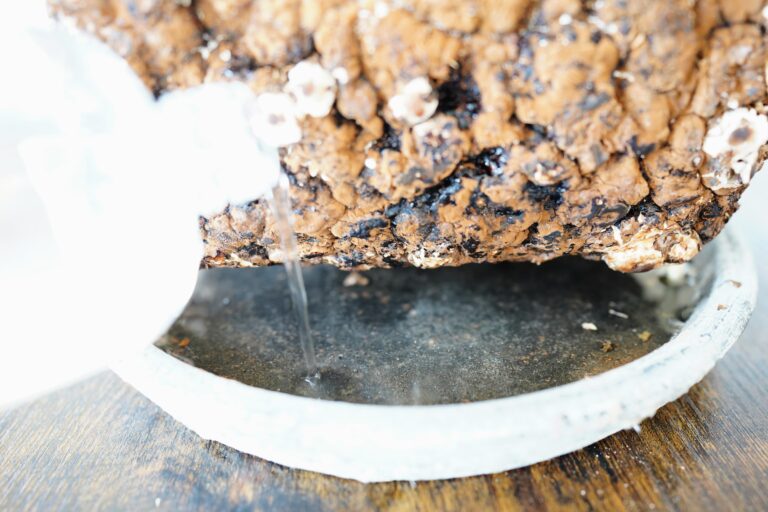
Put water in the saucer. Plenty of water is best.
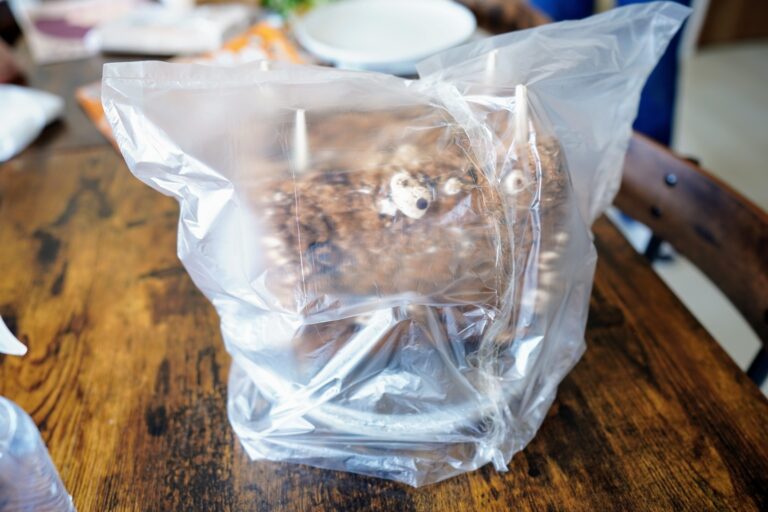
Make it into a mini greenhouse like this.
Here’s how I made the plastic cover↓

Cut the edges of the plastic bags and tape them together with clear tape. (Packing tape is fine too)
That’s still a bit hard to understand, so here’s a drawing.

(Drawing by the creator of Nishitsu’s official character Nishitsu-dori)
Cut the ends of 2 plastic bags (preferably gusseted ones; 3 bags is fine too) and connect them with clear tape.
Next, give it a misting.
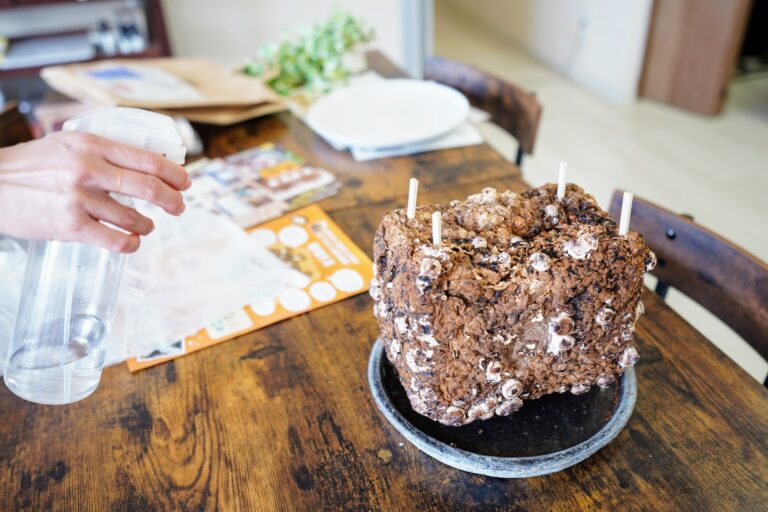
Then cover it with the bag↓
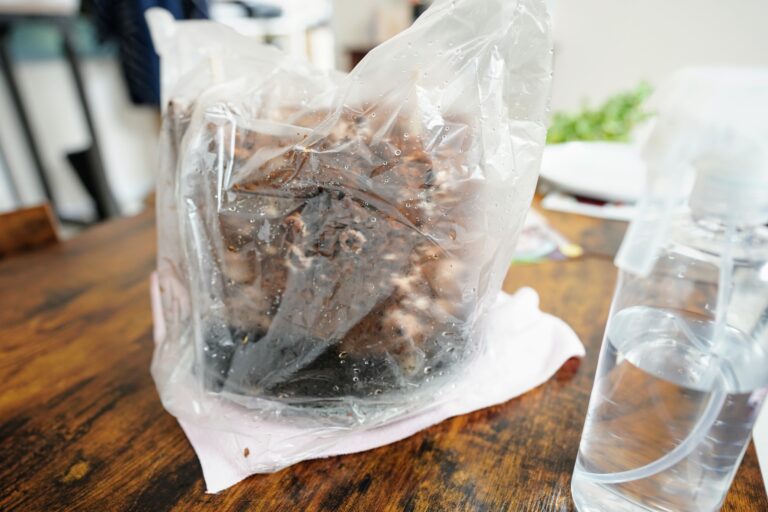
And you’re done!
All You Do Each Day Is Spray It
The next day, it was totally covered in condensation↓
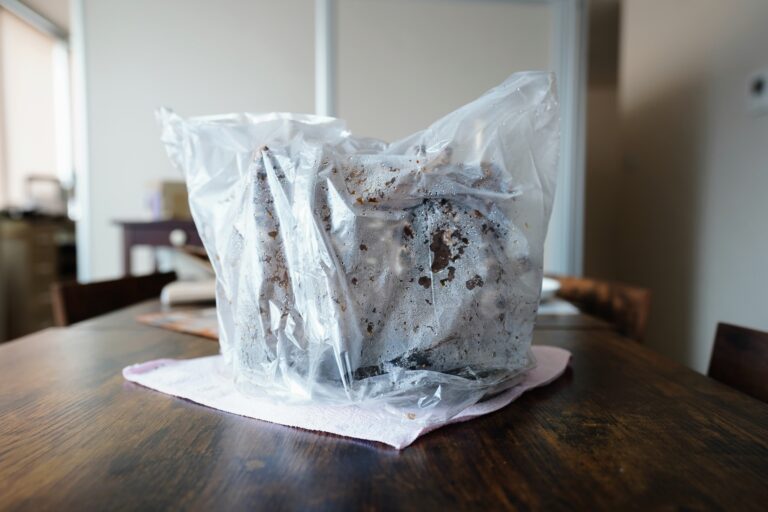
① Take off the bag↓
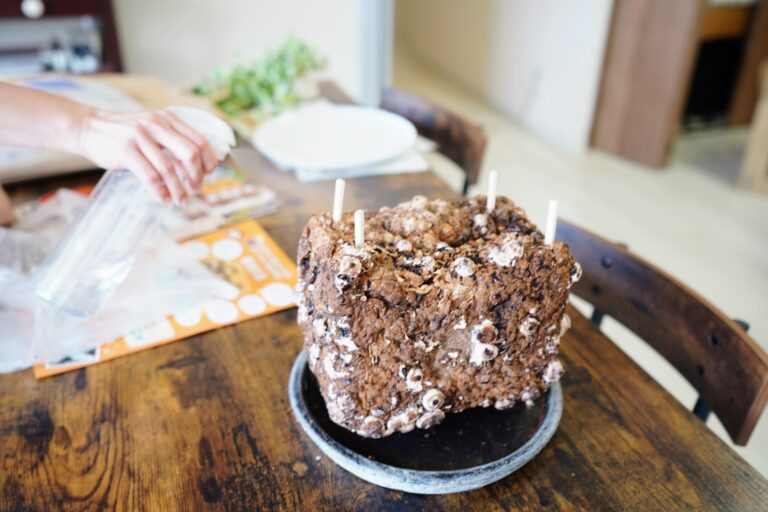
② Mist it.
(Taking it out of the bag lets the air refresh)
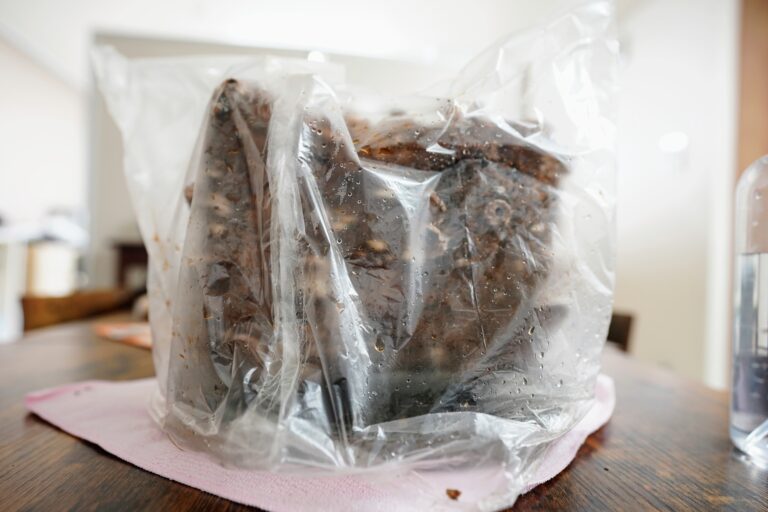
③ Cover it with the bag again. It takes 2 minutes.
Ready to Eat in a Week. Harvest Record
Here’s a record of how it grew.
Day 1 (February 18)
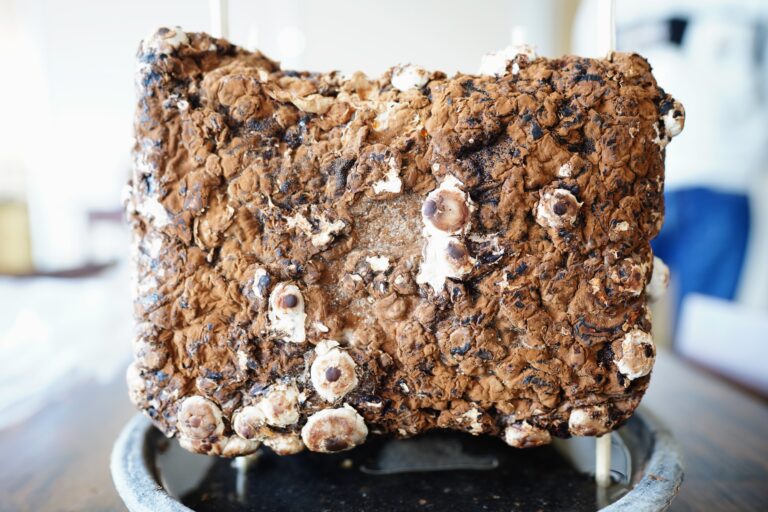
Day 1.
After 1 Day (February 19)
Spot the difference from day one〜Can you teeeell?♪
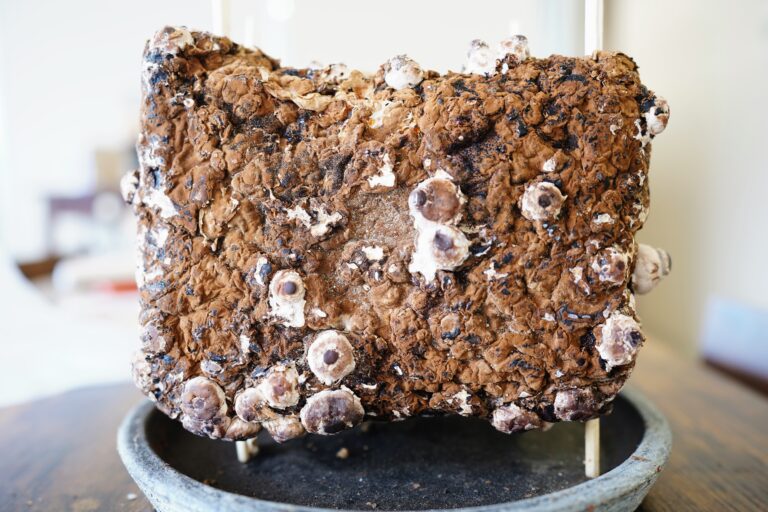
The answer: the white one on the right got bigger. There are other differences too, though
After 4 Days (February 22)

After 4 days, it’s looking very mushroomy! But it’s still too early to harvest
After 8 Days (February 26)
The bag is kind of bursting at the seams lol↓
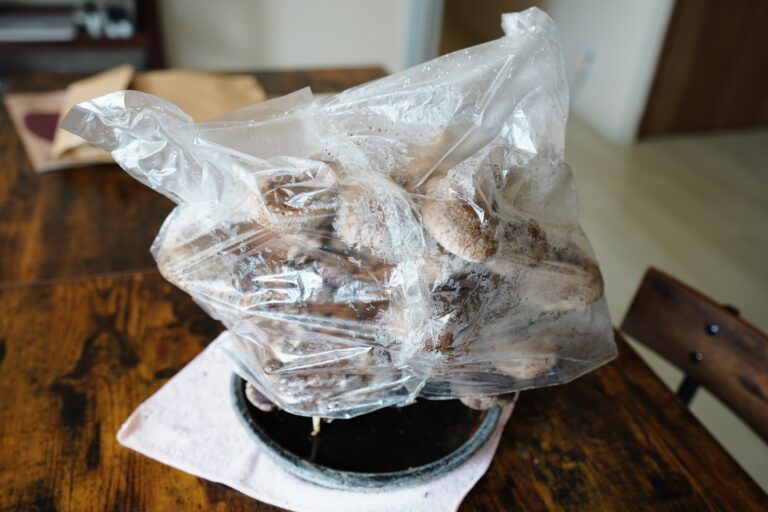
Yep, it’s harvest time↓
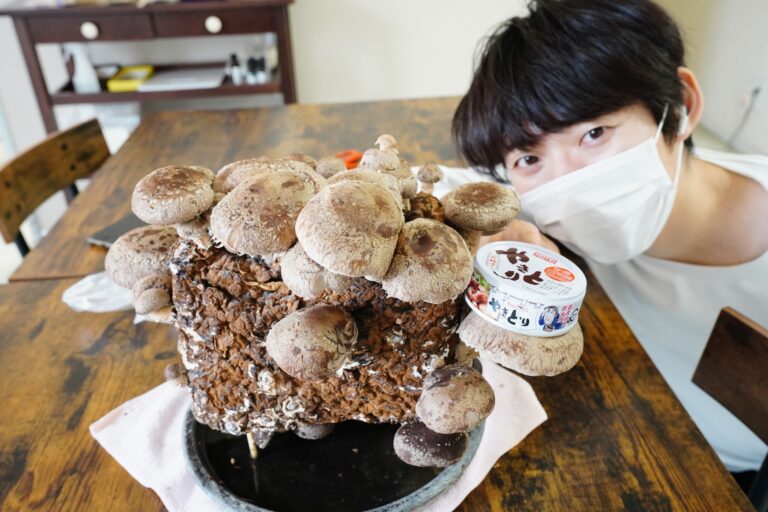
You can eat them! You can tell the size from the canned yakitori, right??
I experimented to see what happens if you miss the best timing↓
After 12 Days (March 2)
4 days have passed since harvest time.
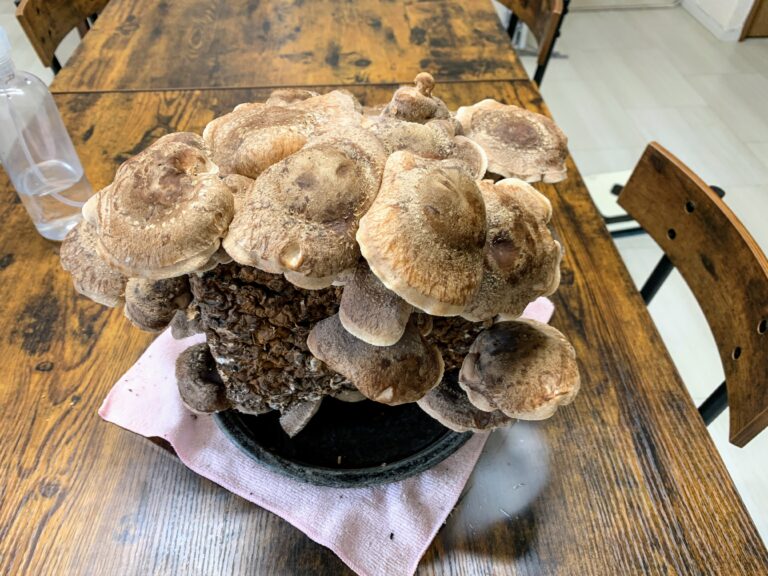
Somehow, the caps have flattened outーーー
Harvesting after about a week might be best. Judge by how they look
They’re Juicy and Delicious When You Eat Them
I’m going to say something important.
Cut them with scissors when harvesting!!
Reason: they’ll grow again. (If you pull them out from the base, they won’t grow back)
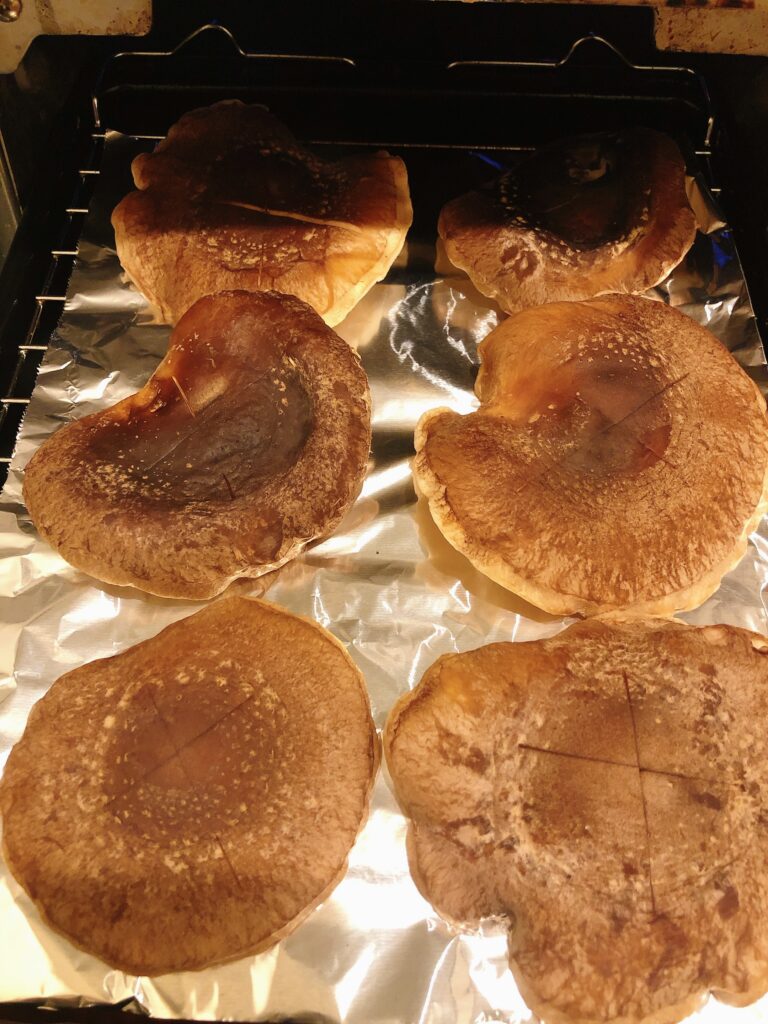
Place the shiitake on aluminum foil.
Cut an X-shaped slit into them.
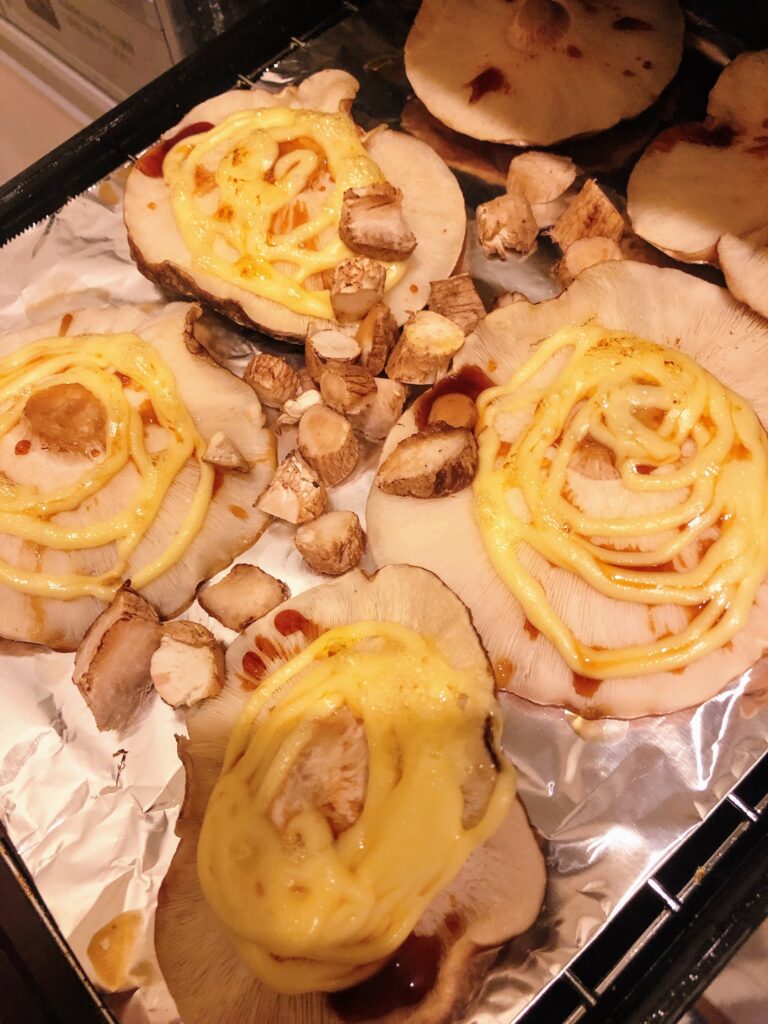
Flip them over.
Add mayonnaise, soy sauce, or salt and pepper.
Toast them in an oven toaster for 7 to 8 minutes.